Pre-Order
Other Settings
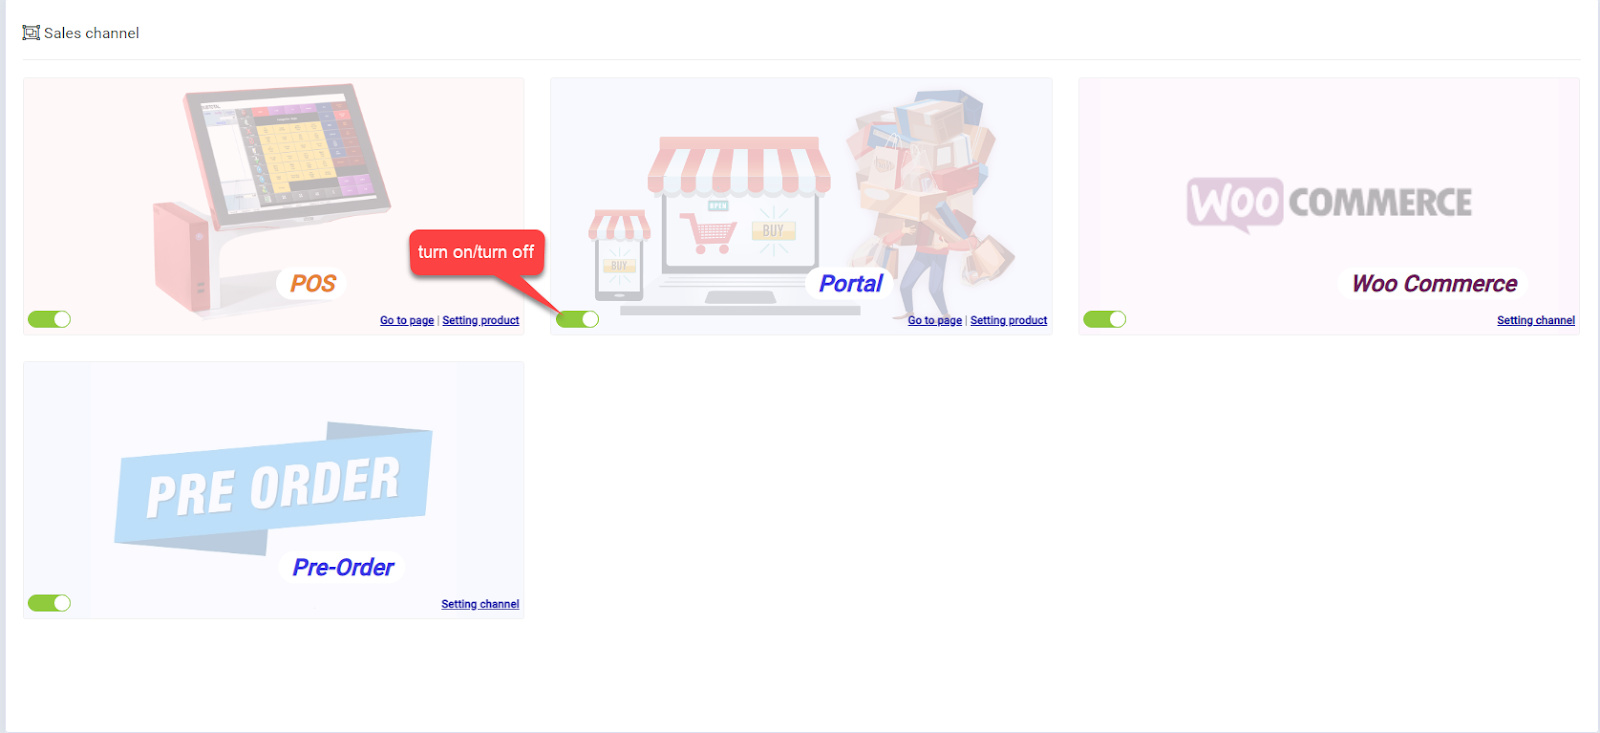
- Step 1. Go to Sales channel menu -> Active Pre-order channel -> click Setting channel

- Step 2. Select the Other settings, choose who to receive notifications every time a pre-order is created by a customer.

Add Product for pre-order channel
- Step 1. Go to Sales channel menu -> Active Portal channel -> click Setting product
- Step 2. Click Add button
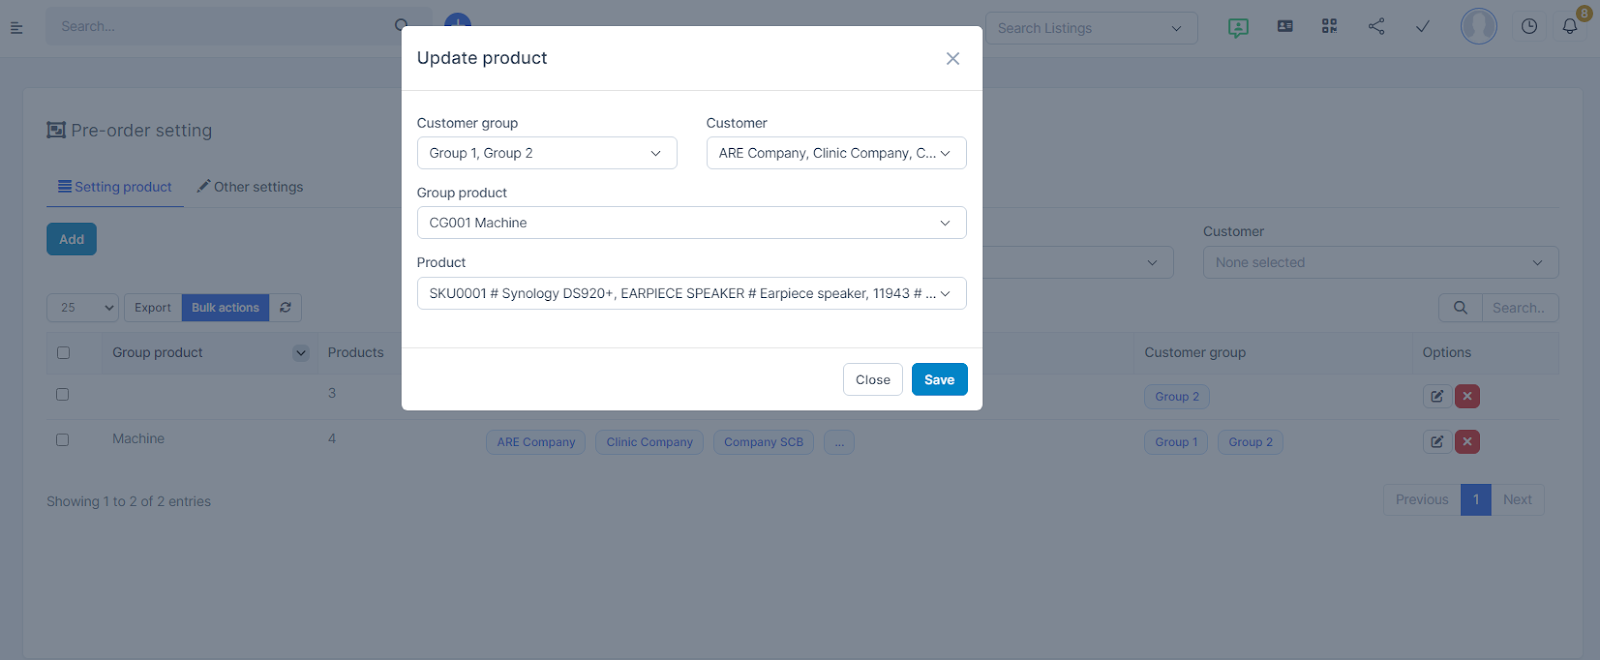
- Step 3. In the Add product popup, fill in the requied details:

- Customer group: select the customer group to be pre-ordered for these products
- Customer: select the customer who will be able to create pre-orders for these products.
- If both Customer group and Customer are selected, the selected customers and all customers belonging to the selected Customer group can create pre-orders for these products.
- Group product: select a product group that can create pre-orders
- Product: filter by selected Group product.
- If you do not select Group product, by default, all products of the system will be displayed.Customers can only create Pre-orders for pre-selected products in the Product field.
- If you have just selected Group product and Product, it is preferred to get by Product. Customers can only create Pre-orders for these products.
Edit
Used to edit product groups, products and customers.
Select the item to be edited and click  -> Make the necessary changes and click Save button.
Delete
Customers cannot create pre-orders for deleted products.
Method 1. Delete each line
Step 1. Select the line to delete -> click Delete button
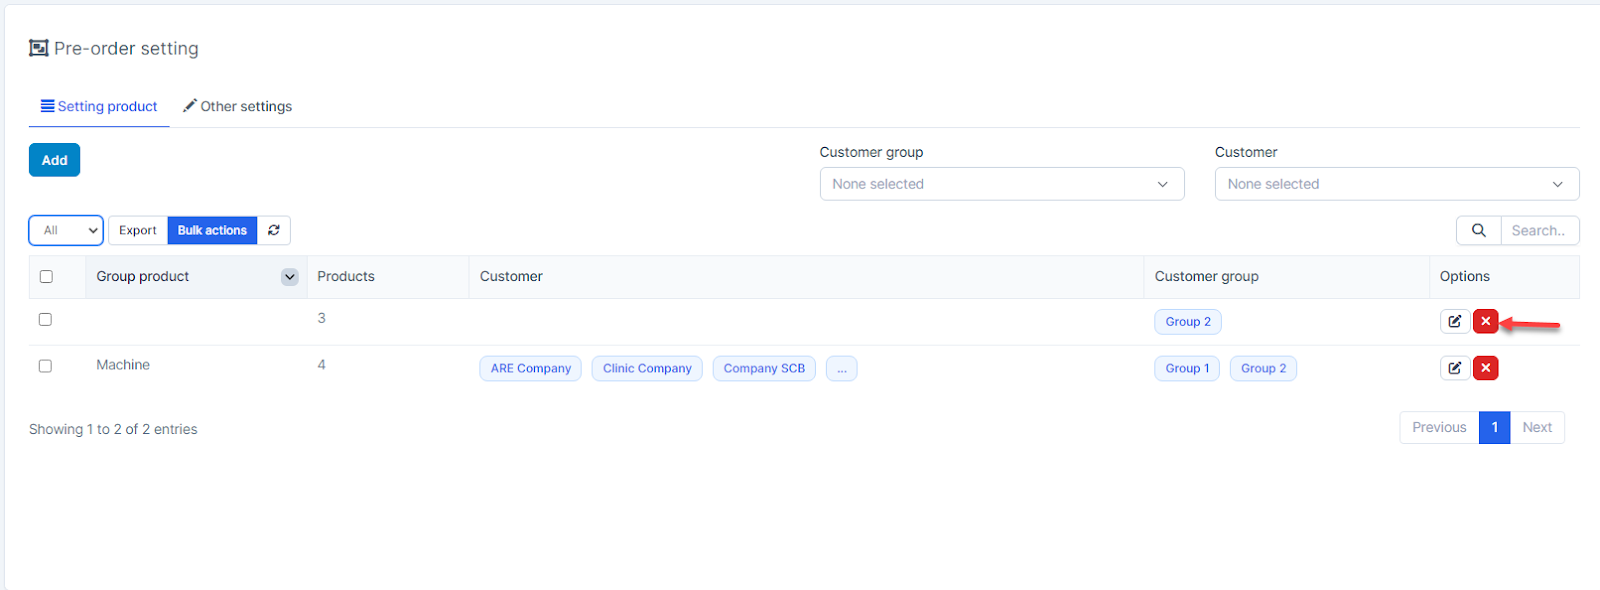
Step 2. Confirm your selection in the following pop-up. The line will be deleted.

Method 2. Delete multiple lines at once
Step 1. Select the function to display the number of lines on 1 page -> select All -> check the top empty box or select the lines to be deleted → Click Bulk action
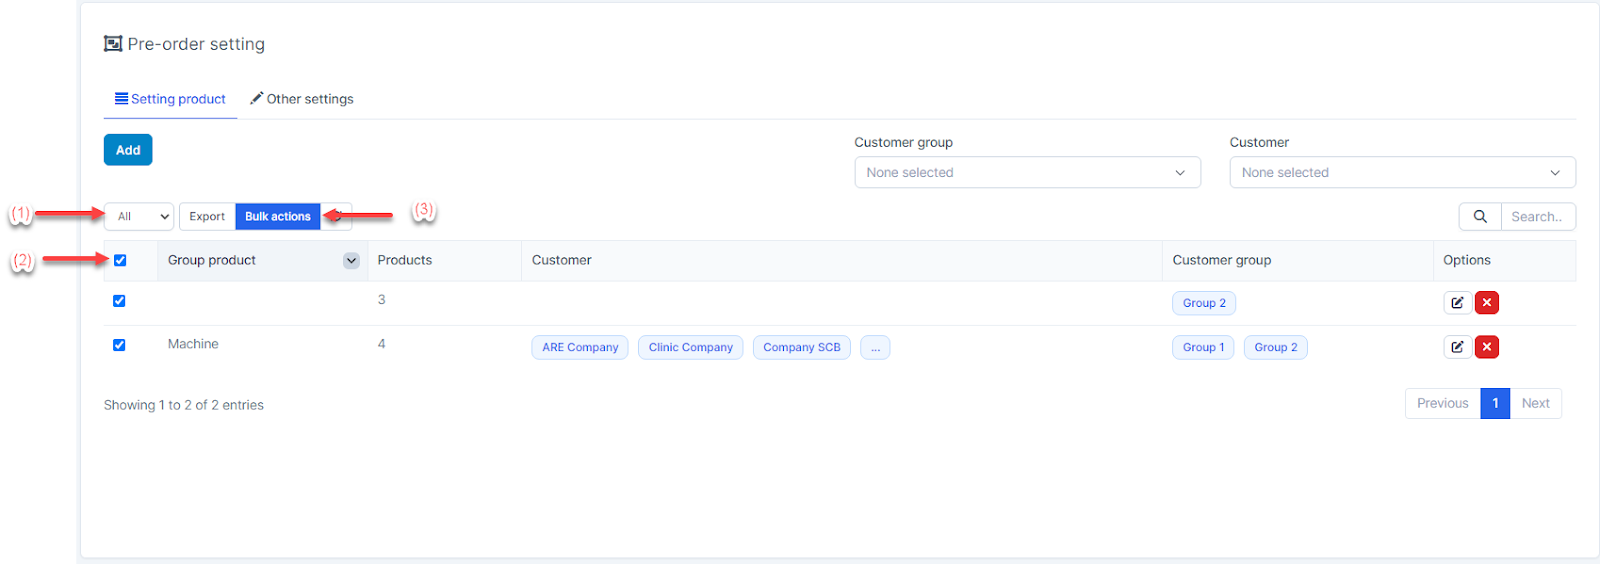
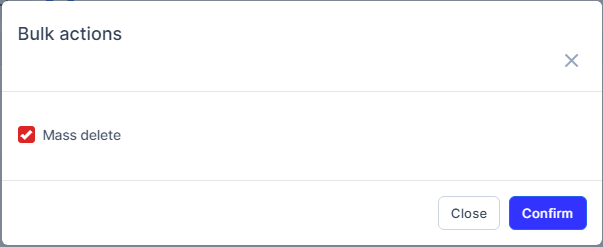
Step 2. Then check Mass delete → Click Confirm
-> Make the necessary changes and click Save button.