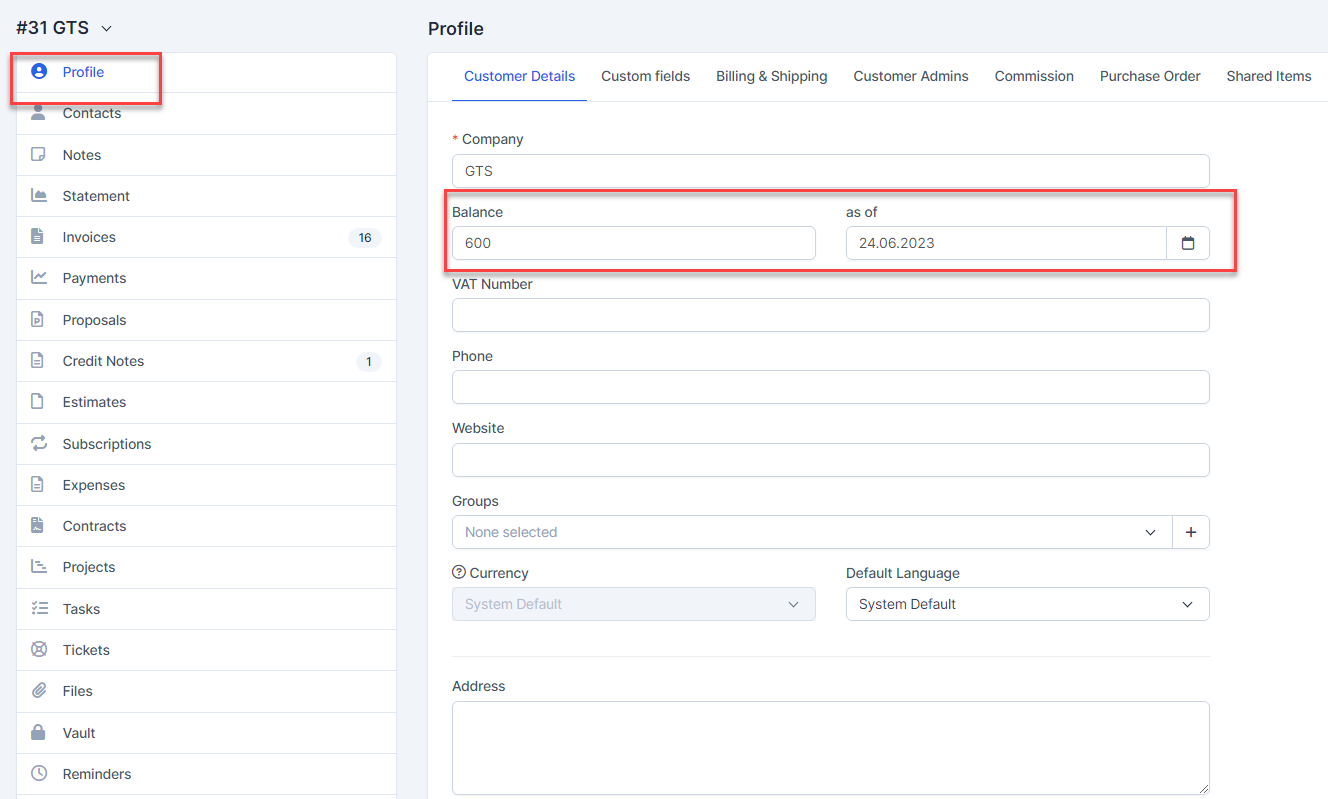
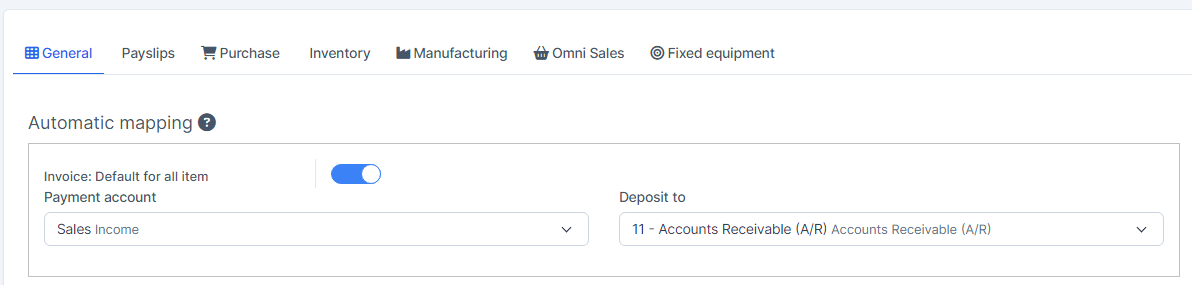
Step 2. Enter the Balance and as of at Profile menu The customer's balance is mapped to the account according to the Sales invoice mapping
Step 3. The system automatically creates a Sale Invoice corresponding to this balance.
Balance for vendor
Step 1. Go to Add vendor or vendor detail -> Enter Balance and as of -> click Save
Step 2. The system automatically creates and approves a bill corresponding to this balance, using the Vendor Opening Balance posting date, which is one day before the As of date.
NOTE: If you delete a bill or sale invoice, you will not be able to re-enter the balance for these vendor or customer.
Views:
522
Recent Articles
Labor Cost Calculation Guide
55
Customizing Ticket Statuses in Customer...
41
Convert to Invoice or Expense & Create I...
71
Service Appointment in Field Service
83
Work Orders in Field Service
73
Popular Articles
Connect your X (Twitter) account and Syn...
3204
Warehouse
2579
Item Settings
2108
X (Twitter) Analytics
1962
Plaid environment & Setup Your Bank Acco...
1906
Register
Due technical issue
Login
Forgot Password?
We Care about your privacy
Your experience on this site will be improved by allowing cookies.